Adding files to libraries
Add a new file using the Add Files button in Lightning Experience. You can upload a new file to a given library’s folder/subfolder. After a file is created, you can view most of its metrics:
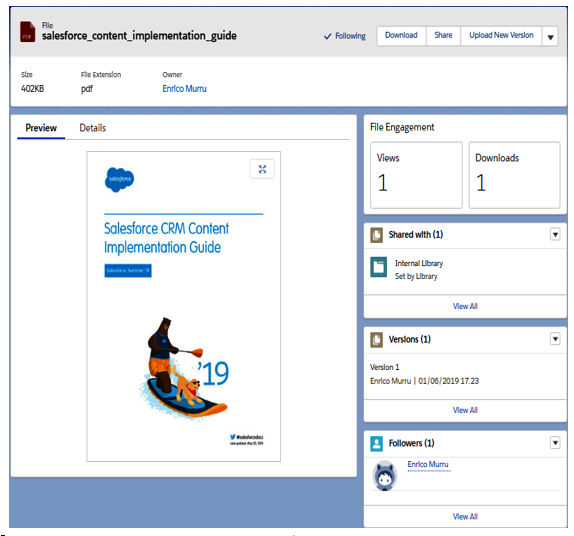
File details on Lightning Experience
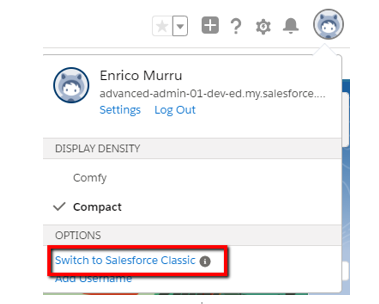
There no such thing as tagging. Let’s switch back to Salesforce Classic. You should already be familiar with switching to Salesforce Classic; just click on Switch to Salesforce Classic on your user’s icon, as illustrated here:
Jump to the Salesforce Content tab and select the library and the content just uploaded using Lightning Experience. Then, click on the Edit drop-down and choose Edit Content Details:
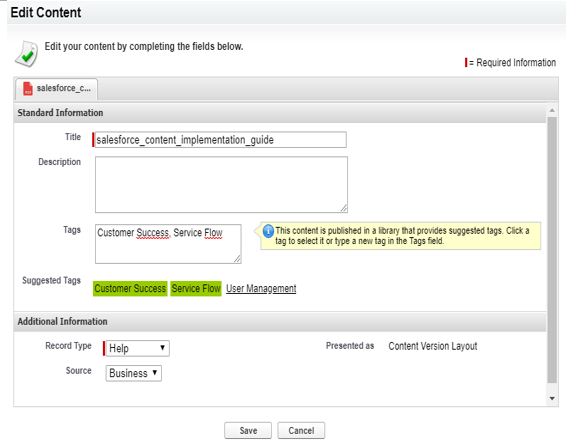
Content details in Classic view
The Standard Information section contains the title, description, and tags used (with the suggested ones included), while the Additional Information section displays Record Type (the Help record type has been automatically assigned, as per the library configuration we saw earlier) and any custom field that the current layout contains (in the preceding screenshot, this is Content Version Layout).
Another difference is that while in Lightning Experience we can follow a file using the + Follow button, in Classic, we can subscribe to a content item using the Subscribe button (and receive the necessary updates as per the user record configuration, which we saw previously).
In Lightning Experience and Classic, content files can be versioned by uploading a new version. The difference between Lightning Experience and Classic is that, in Classic, it is possible to update all information on the fly, including tags:
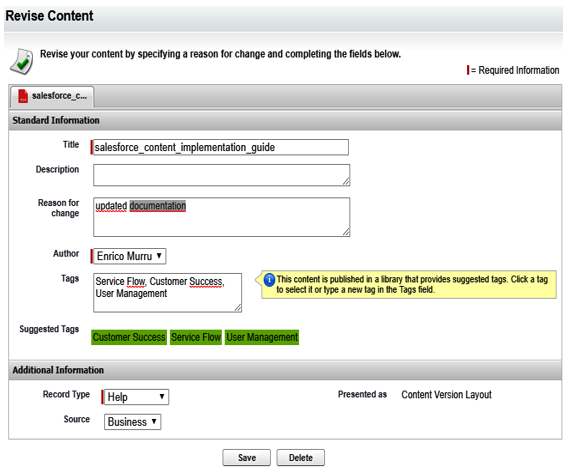
Uploading a new content file version in Classic
The last thing to note is that, in Classic, we can flag a content item as Featured Content (click on the Feature Content link on the content’s detail page), so we can put content in the Featured Content section of the library’s page:
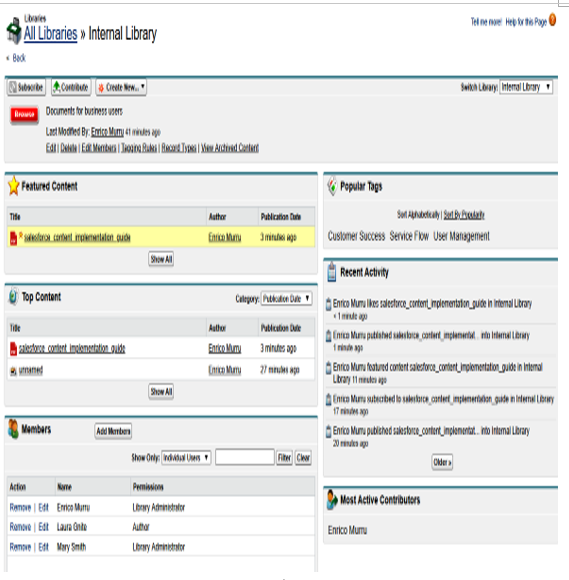
The library main page with all the sections filled
Note that all the right-hand column sections are populated automatically as well (for example, Popular Tags, Recent Activity, and Most Active Contributors).
Enabling Google Docs
If your company uses Google Apps, you can link your Salesforce to Google Docs to get instant access via Salesforce CRM Content to your cloud docs.
To enable Google Apps access, jump to Setup | Google Apps Settings:
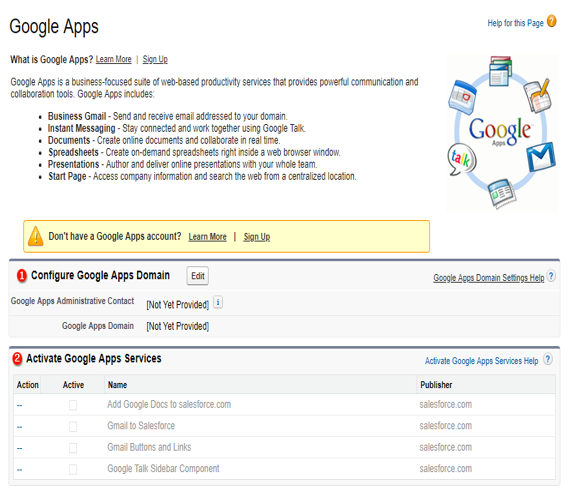
Google Apps configuration
With the Add Google Docs to salesforce.com service enabled, we can add any Google Doc to our content and deliver the features of Salesforce CRM Content to Google Docs, while keeping our org free of files.
If your company owns a Google Apps account, follow Salesforce Help at https://help.salesforce.com/articleView?id=google_apps_parent.htm&type=5 for more details on configuration.