Now, after switching to the CLI, we will view the Pods’ details using the kubectl utility.
To view all Pods in all namespaces, we need to use the following command:
kubectl get pods -A
However, the command output will show us all cluster resources alongside our deployed Pods.
To view Pods deployed into the default namespace, we need to use the following command:
kubectl get pods
If Pods were deployed into a dedicated namespace, we must append a –namespace YOUR_NAMESPACE parameter.
If we want to see the details of a specific Pod, we need to use the kubectl describe pods MY_POD_NAME command. This command is handy for seeing Pod events, especially if the Pod creation fails to troubleshoot the issue.
To list deployments, we can use the kubectl get deployment MY_DEPLOYMENT command.
It is possible to retrieve existing Pod or deployment configuration and save it as a file in YAML format using the kubectl get pod my-pod -o yaml command.
As you might have already seen, kubectl has multiple switches, each with multiple namespaces. To view the most common Kubernetes operations, it might be helpful to look at the following kubectl cheat sheet: https://kubernetes.io/docs/reference/kubectl/cheatsheet/.
In the next section, we will focus on adding Pods to the GKE cluster.
Pod creation can be done by using Cloud console and the CLI. We will start with Cloud console.
Cloud console
In Cloud console, we need to select Workloads and click the DEPLOY button:
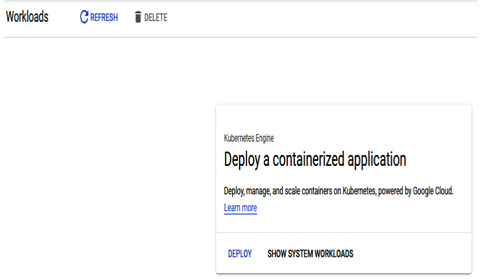
Figure 6.30 – Container deployment using Cloud console
We have the following options to choose from:
- Existing container image—The source of the image can be either a container registry or an artifact registry.
- New container image—The source image can be pulled from Cloud Source Repositories, GitHub, or Bitbucket:
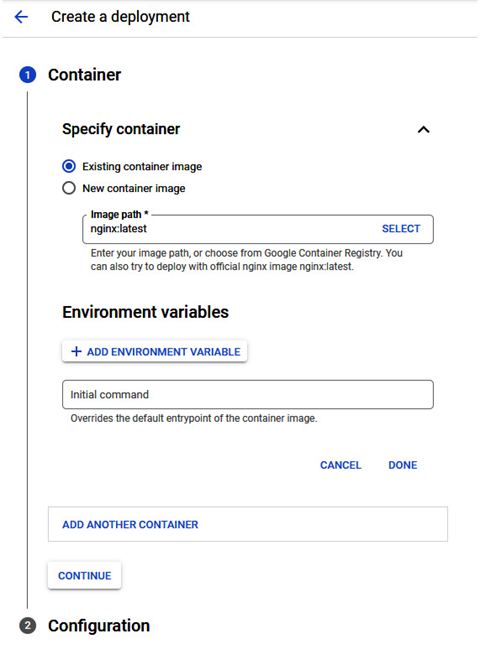
Figure 6.31 – Container selection for a new deployment
If needed, we can add multiple containers into one deployment. After clicking CONTINUE, we have the possibility to provide an application name, choose or create a namespace, add labels, view the configuration in YAML, and select which GKE cluster we want to deploy:
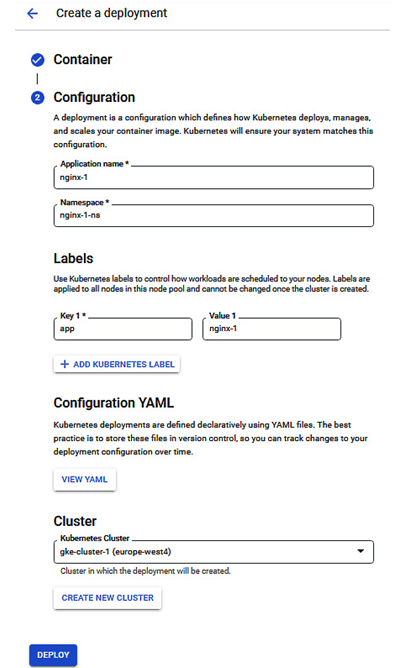
Figure 6.32 – Final step to deploy the container using Cloud console
Note
If your target GKE cluster uses Standard mode, the application should be available within seconds (depending on the application size). If the target GKE cluster uses Autopilot mode, Pod scheduling might take a bit longer than in Standard clusters due to the necessity of node provisioning.
After the application is up and running, we can add extra Pods to the application. This can be done in the ACTIONS menu:
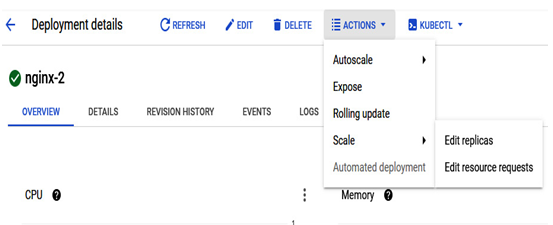
Figure 6.33 – Edit replicas menu in Deployment details
After changing the desired number of Pods, deployments of the additional Pods start immediately if there are enough resources in the node pool:
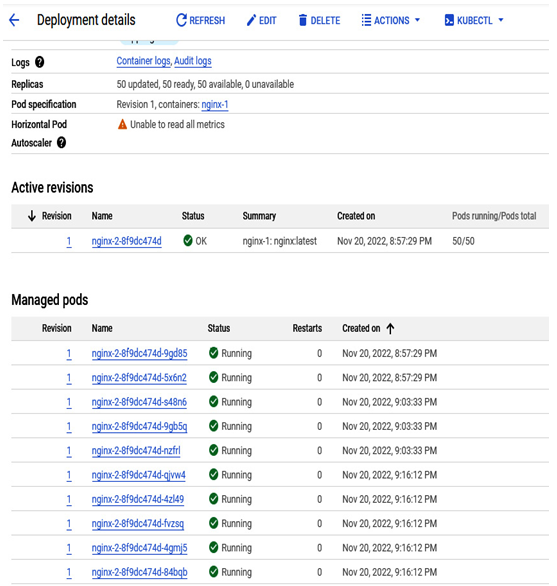
Figure 6.34 – Successful increase in Pods in deployment
In the next section, we will add a simple image to a GKE cluster.